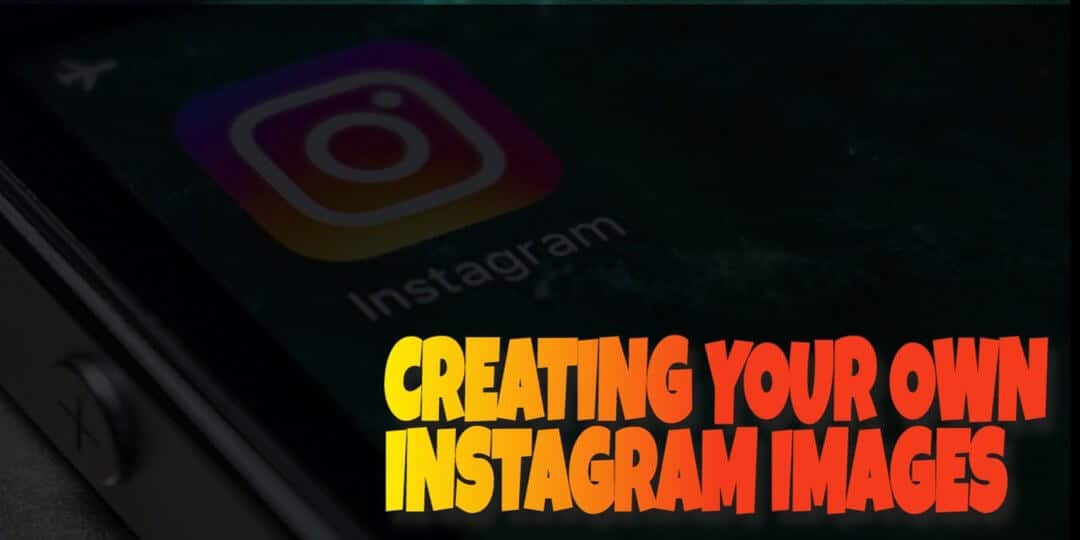
Hey there, Jim here from Best Stay Home Jobs. I'm going to show you how to create your own images for your Instagram for free in this quick and dirty little video training.
There are only 3 sites I need to check out for this and they're all free sites, so keep your hair on! The video's downstairs!
Table of Contents
STEP 1: Searching for a Quote Using Google Search Engine
One is Google search engine to find some quotes that I want to post on my Instagram. Then I want to copy a quote to my clipboard (highlight the text and then select copy with the right mouse button).
The quote I found quickly was about a rose and a thorn. "Every Rose Has It's Thorn...Just like every cowboy, sings a sad, sad, song....." Do you remember that song? LOL.
It's showing my age a bit. I think it was late 80s or early 90s. Can't remember who sang that one. Anyhoo, stop digressing Jimbo, you nut case!
STEP 2: Finding a Free Image from Pixabay
Okay, then all I have to do is to go and find an image. I'm going to pick an image of a rose. So, I will go to a website called pixabay.com and type in "rose" and there are several nice images to choose from. I downloaded the biggest and nicest one I could find.
I didn't like the pink one. Too girly! I wanted a more manly rose. If there's such a thing. 🙂
STEP 3: Putting Your Instagram Image Together in Canva
Now there's only one more website I need. This site is called Canva.com and is awesome for free image creation. Amazing ain't it what you can get for free these days?
I want to merge the text in the quote together with the picture, and then pretty it up a little bit.
See The #1 Recommended Training That Shows You How to Make Money Online...
Learn all you need to know about making money on the internet
I do this by selecting the default Instagram image size which is 1080p x 1080p. Then when the canvas is open I can upload my image of the rose. Once this is done, I click on the text option in the left-hand side of the dashboard.
You can select from many fonts, so I chose a nice one that looks good to me. You can also change the color of the font at the top bar in Canva.
Video: How to Create Your Own Images for Your Instagram
Once the font and color are selected, you can change the size of the font. The size I had as a default was good enough in this case.
Click on the text icon and the text will be placed on the canvas over the picture of the rose.
Next, I "paste" the quote text into the text box that I made and I tweak it to make sure it's centered and looks about the right size.
Almost done!
Captain, she needs transparency!
Now, because the rose has a lot of white to it, I need to find a way to make the text stand out a little bit more because it's hard to read, being white also! It's a bit like trying to use white chalk on a white wall, you can't see it very well, if at all.
So, I select "elements" on the left-hand side of the canva dashboard. I want to choose a square and plonk it on top of the rose image. I changed the square from white to black using the color options above in the top bar.
Now all I need to do is to make the black square transparent using the slider which can be found top right in the canva screen. As you can see, the image behind the black square becomes clearer. Adjust the transparency until you're happy with it.
Next, we need to change which layer the black square is positioned at. Right now it's on top of the white text and the white text is on top of the image of the rose. We have 3 layers in total.
Now we need to place the layers in the right order.
And so I choose the layers option which is found next to the transparency option. I click on the toggle option and suddenly the white text pops out on top, so the black square is now sitting like a piece of ham on a sandwich.
The rose image is the bottom slice of bread, the black square is the sandwich filling, and the top slice of bread is the text. Hope that is a better way to explain it. Hope you like sandwiches.
Now, we just need to make sure that the black square covers the whole of the image. Now we are well and truly done and dusted, folks.
I give the image a name, don't have to, but I usually do. Then I download the image. In this particular case I downloaded it as a JPG file rather than PNG. Either of them is usually okay for Instagram.
Now I'm ready to post my image on Instagram. All I have to do is upload via my usual method through my phone. But as I made this image using my desktop PC, I need to first transfer it to my phone (or tablet).
This can easily be done by using something like Dropbox. It's an online file storage facility similar to google drive, box, or a myriad of other "cloud storage" services.
Then I can use my phone or my tablet to access Dropbox and upload it to Instagram. Add a caption, some hashtags, and Bob's your Auntie. Well, he is if he likes wearing ladies' clothing, anyhoo! 🙂
And that's it, in a nutshell.
There's no fussing about with expensive applications like photoshop here because it can all be done for free and easy when you know how.
Why would you want to pay $1 million dollars for a Lambo when you can pay $1 and take a bus? It's only a couple of miles. I know, I know, I'm a right old cheapskate, eh?
Hope you enjoyed, happy Instagramming.
PS. If you like this, share it with your social media buddies.
Because I have a very special set of skills.
I will find you and I will spam you! 🙂
Come back soon or else I'm going to spam you on Facebook, okay? 🙂
Regards,
Jim
See The #1 Recommended Training That Shows You How to Make Money Online...
Learn all you need to know about making money on the internet

Once upon a time, in a galaxy far, far away… Jim got a chronic case of sciatica and lost his job. However, Jim used this opportunity to learn how to build websites with WordPress and then to make money online. Jim wants to help you do the same, while helping you to avoid the plethora of scams. Let Jim help you earn your first $1000 online from home. Cheers and see you soon!